In the previous post we’ve created and configured a background task for our Windows 8 application: we’ve created a separate project for the task and we’ve configured the manifest file. Now it’s time to write the code in the client to register the background task, so that the application can take advantage of it. We’re going to register the background task we’ve created in the previous post: a timer based task that simply display a toast notification.
Here is the code that we insert in the MainPage.xaml.cs file, which is the code behind of the first page that is loaded when the application starts.
private async void RegisterBackgroundTask()
{
    try
    {
        BackgroundAccessStatus status = await BackgroundExecutionManager.RequestAccessAsync();
        if (status == BackgroundAccessStatus.AllowedWithAlwaysOnRealTimeConnectivity || status == BackgroundAccessStatus.AllowedMayUseActiveRealTimeConnectivity)
        {
            bool isRegistered = BackgroundTaskRegistration.AllTasks.Any(x => x.Value.Name == "Notification task");
            if (!isRegistered)
            {
                BackgroundTaskBuilder builder = new BackgroundTaskBuilder
                {
                    Name = "Notification task",
                    TaskEntryPoint =
                        "BackgroundTask.NotificationTask.NotificationTask"
                };
                builder.SetTrigger(new TimeTrigger(60, false));
                builder.AddCondition(new SystemCondition(SystemConditionType.InternetAvailable));
                BackgroundTaskRegistration task = builder.Register();
            }
        }
    }
    catch (Exception ex)
    {
        Debug.WriteLine("The access has already been granted");
    }
}
The first thing we do is ask the user the permission to run the background task by calling the metod RequestAccesAsync of the BackgroundExecutionManager class. When this method is called, a dialog box is displayed and the user can choose if the wants to enable or not the task: the choice is returned by the method embedded into a BackgroundAccessStatus enumerator. You will immediately notice that the whole code is embedded into a try / catch statement: this is required due to a bug in WinRT APIs, that returns an exception in case the user has already accepted to run the background task.
In case the user has confirmed to run the task we search if it’s already registered in the operating system. Unlike in Windows Phone, in fact, it’s possible to register the same task multiple times: in Windows Phone, instead, you’ll get an exception. To accomplish this task we access to the collection of all the registered tasks (BackgroundTasksRegistration.AllTasks) and we look for a task which name is Notification task: later you’ll see that this is the name we set for our task.
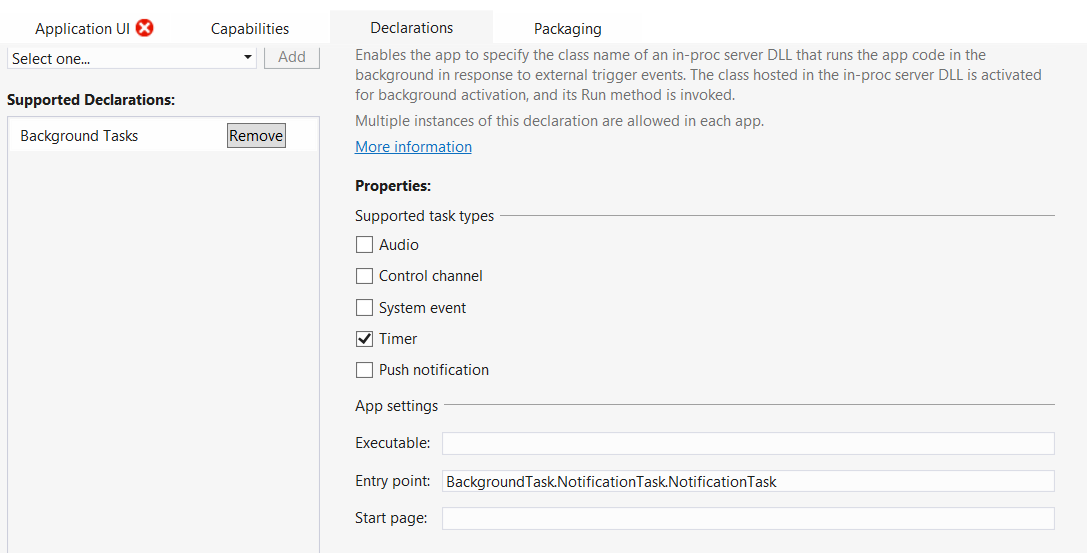
If the task isn’t registered yet, we go on and register it: we create a new BackgroundTaskBuilder object and we set two properties: Name, which is the identifer of the task (it’s the one we’ve used before to check if it’s already registered or not), and TaskEntryPoint, which is the same value we set in the Entry point parameter of the manifest: it’s the full name of the class which hosts the background task, plus the namespace. In our example, the entry point is BackgroundTask.NotificationTask.NotificationTask.
It’s now time to define the type of background task we’re going to register: we do this by using the SetTrigger method on the BackgroundTaskBuilder object. Since in this example we’re going to create a timer task, we set a new TimeTrigger and we choose to run it every 60 minutes. Background tasks in Windows 8 support also conditions, which are a great way to make sure that a task is execute only when one or more criteria are satisfied: in this example, since we’re going to simulate a background task that periodically checks for some news, we add a SystemCondition of type InternetAvailable. This way, we can avoid to check in the background task if there is an active Internet connection because, if it’s not the case, the task won’t be executed at all.
In the end we register the task by calling the Register method. Last but not the least, we need to add a reference of the background task’s project to the client: let’s right click on the client project, choose Add reference and, by using the Solutions tab, double click on the background’s task project.
It’s time to debug!
We’ve created a background task but how can we debug it? Obviously, Visual Studio 2012 offers a smarter way than simply waiting for the condition to be satisfied (in our example, an Internet connection is available and the 60 minutes time trigger is reached). First we have to register the task when the application is launched: in this example we’re going to call the RegisteredBackgroundTask method we’ve just defined when the MainPage is initalized, so we call it in the constructor.
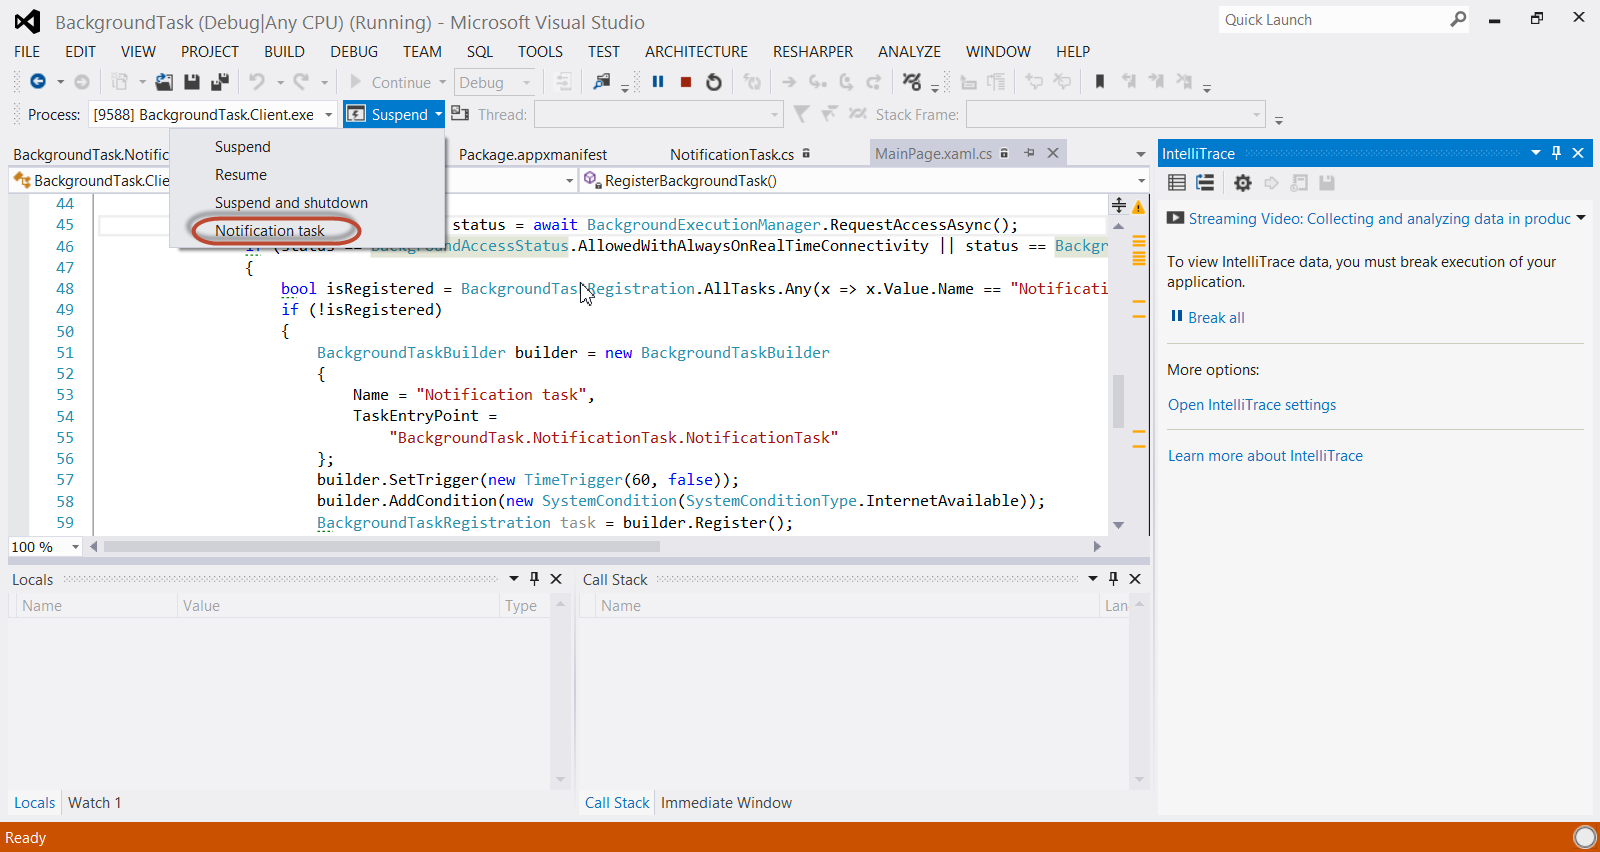
The first time the application is launched, you’ll see the dialog that will ask you the permission to run in background: confirm it and, once the application is started, go back in Visual Studio. Now right click with your mouse on one of the empty spaces near the toolbars and choose to display the Debug location toolbar. Near the name of the process you’ll find a dropdown menu, with some precious options that will allow you to simulate the various states of the application lifecycle (Suspend, Resume or Suspend and shutdown): in our case, since we’ve registered a background task, you will see another option with the name of our background task, that is Notification task.
Click on it and… voilà, your background task will be executed: if you set a breakpoint on the Run method of your background task’s project, you’ll see that is triggered and you’ll be able to debug it as you would normally do with another application.
And if it doesn’t work? Here are some common things to check in case you have problems:
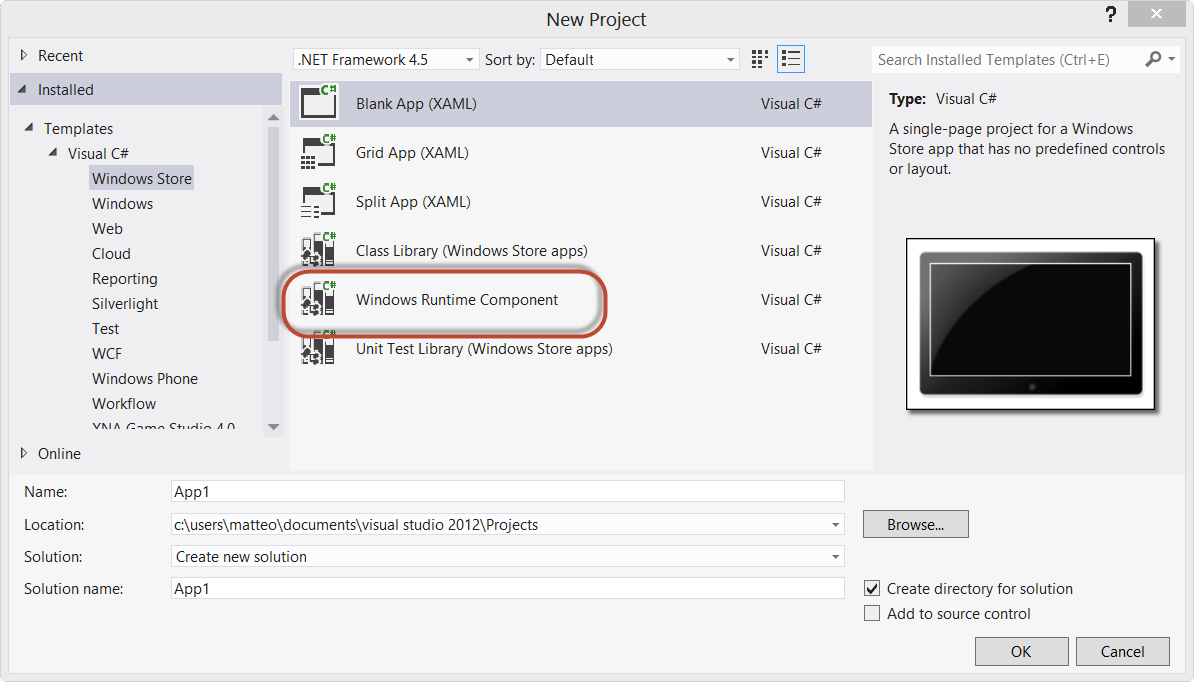
- Make sure that the background task’s project type is Windows Runtime Component.
- The client should have a reference of the background’s task project: check the References tree of your client’s project.
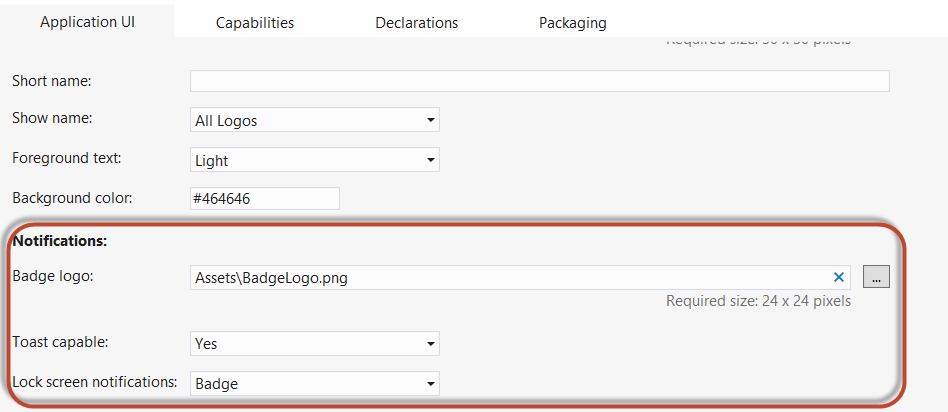
- Check the application’s settings (using the setting’s icon in the charm bar) and make sure that both notifications and background tasks are enabled.
- Make sure that the entry point is correct, both in the manifest and in the code. It should be the name of the class with, as prefix, the full namespace.
If you want to play with background tasks, here is the link to download the sample project used in this tutorial.

